Translate

Monday, September 15, 2014

Please vote

Entry #9 is not doing good in the voting race and there is only 5 days left. Only the top 50% of the entries after voting go on to the next part final judging. We are in bottom two of seven, so not good.Entry #9 is made by Confetti Doll Design and I model for them from time to time.


Thank you for helping out. 

Tuesday, September 2, 2014

Editing... how to make a good photo better or a better photo awesome.

I highly recommend editing your photo's. You can easily make a good photo better. It isn't hard. There are many different free online editors you can use. I was a Picnik fan until it closed so I have found that Ribbet works the best for me as it is the closest fit to Picnik and was made by former Picnik employees.

Whatever service you choose you need to learn what the different things can do for you in the program.
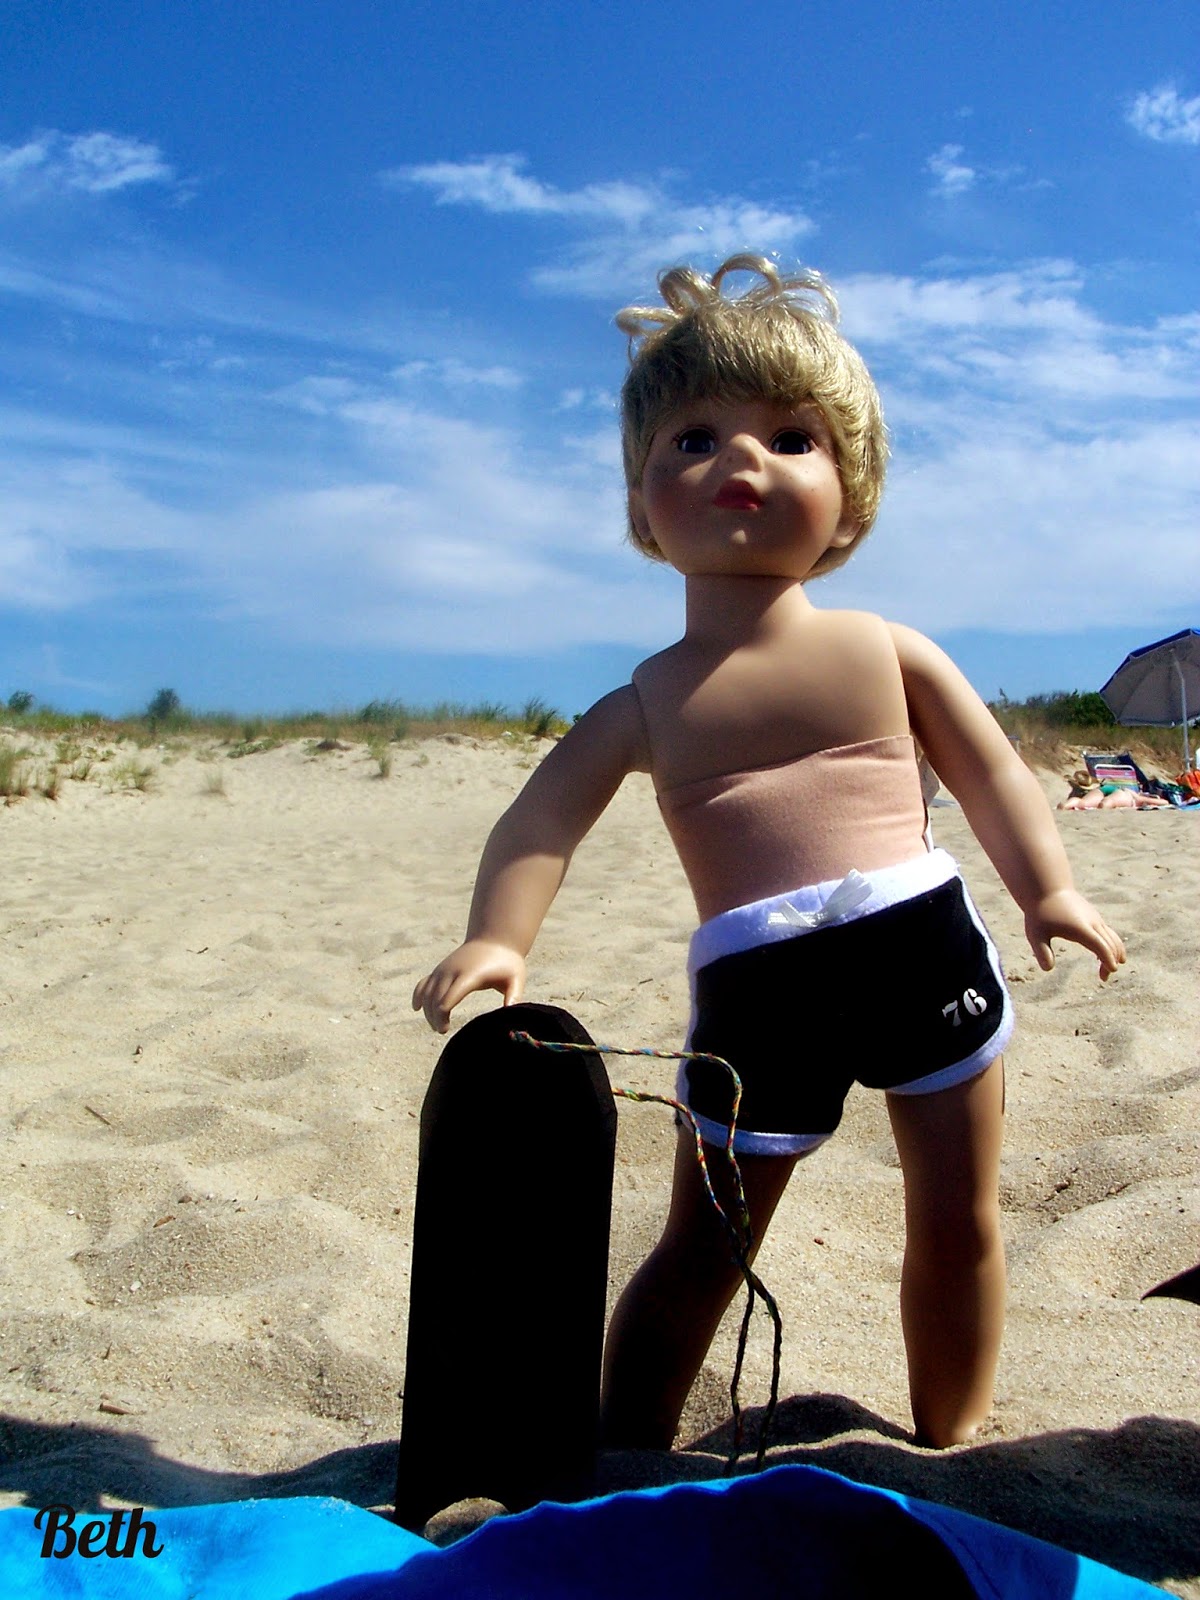
We are going to work with this photo. This is the original unedited photo.
Tool #1. Crop Crop is a great way to change the position of your subject in the photo. I am going to crop this photo into a square Instagram shape. 
Crop brought us all a bit closer to the front, took out extra background. 

Tool #2 is Rotate. You would use this if you needed to straighten the photo because you might have held your camera a bit crooked or you need to turn it because you held the camera perpendicular. I am going to change our position just for fun. I think we shall tilt a bit.
This photo didn't have a ton of background so the rotate really did not help much but you can see how we took the same photo and tilted it.  (cropped first)

Tool #3 Exposure You can use Exposure to fix the lighting to a degree. It can brighten the photo and correct the white to white. If you notice all the white in the original isn't true white. 
Here I used auto Exposure. And the whites look whiter. It brightened it all up.
Manual Exposure used here. I put the highlight up to 41 and the shadow to 10. Went a bit high on the highlight just so you can see the extreme. 

Tool #4 Sharpen. Honestly I don't often touch this. I can give your photo a grainy texture. Sometimes that is desired because it will make a digital photo have more of a film quality. Feel free to experiment as you wish,

Tool #5  Resize. This is useful when the size of your photo is too large. Not shape size but pixel size. If you have a higher megapixel camera you end up with higher pixel count . Often higher pixel count is desired, It views the best on blogs for example.

Tool #6 Autofix. It will fix color and straighten.  Here is the same photo with auto fix. 


Tool #7 Colors. I typically use the neutral color and click on white in the photo. That is why I favor white shirts or white walls. It allows you to fix color. 


Combining the tools... I am going to use a few of these tools to make the original photo what I would like it to be. I will tell you what I used. 

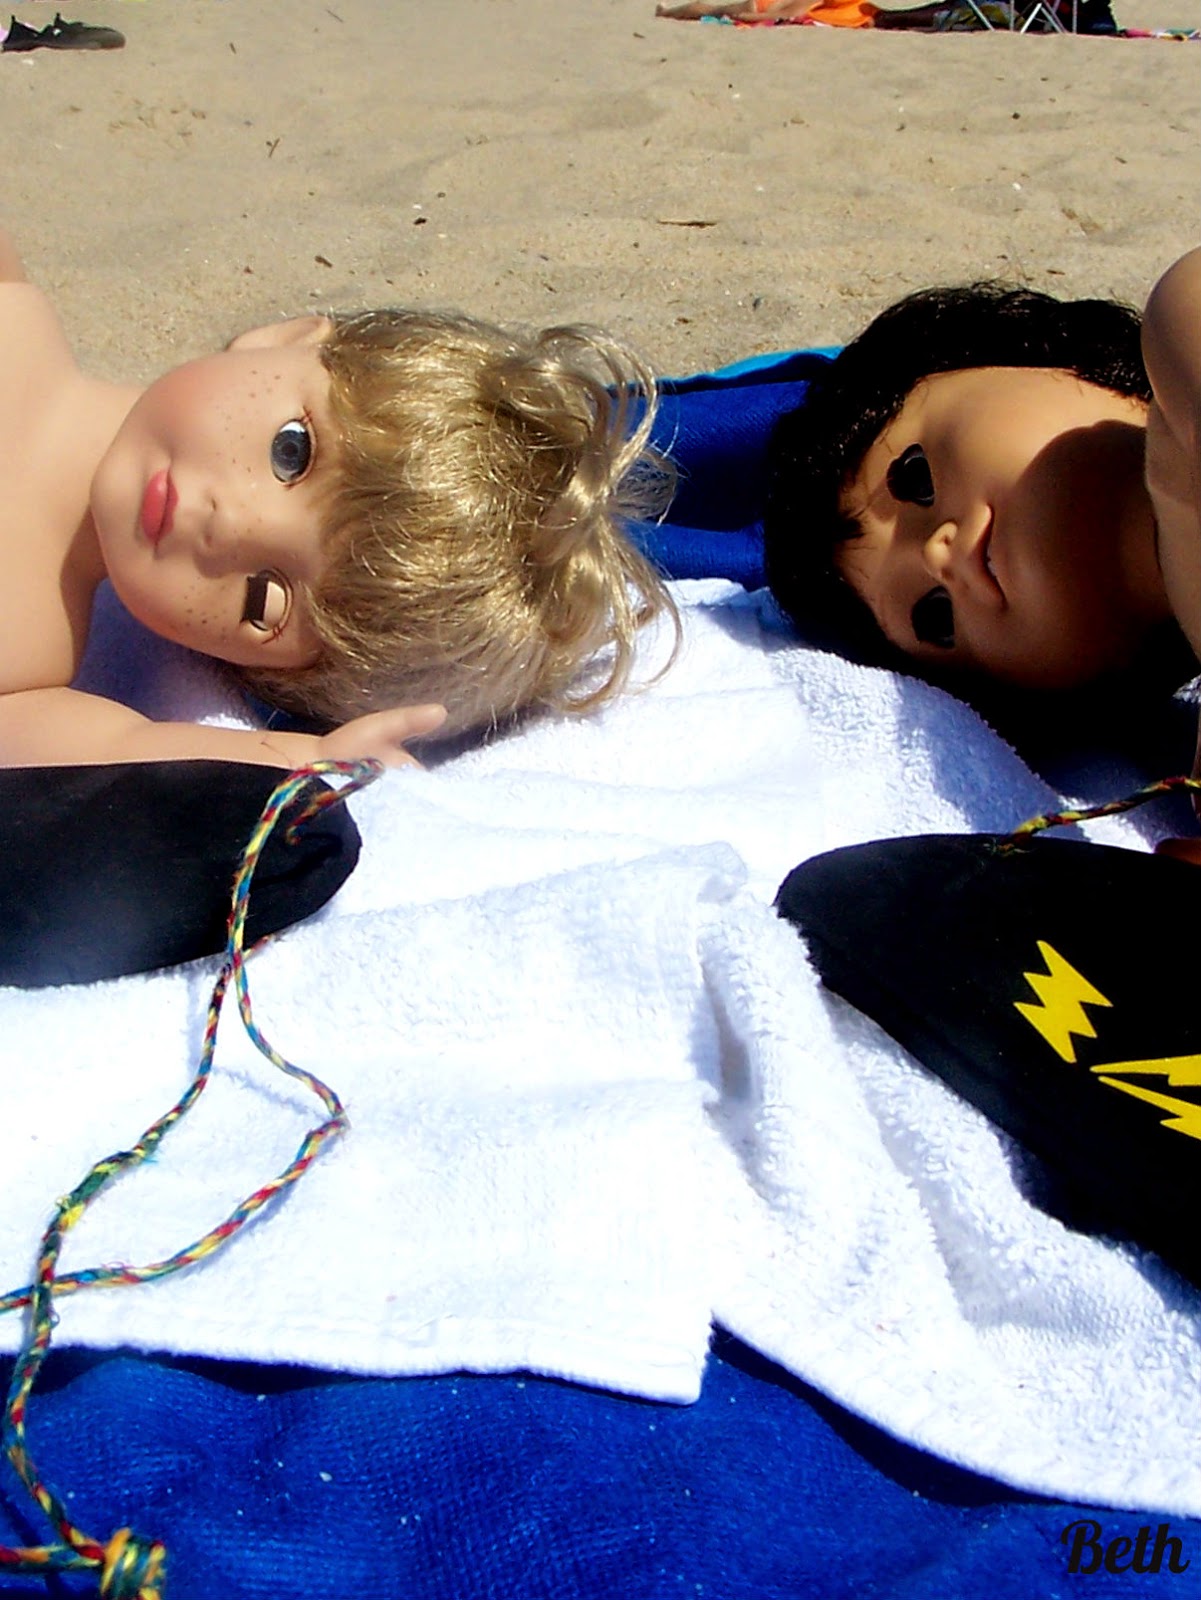
Here we have white whites, bright faces and not too much background. 

You can experiment with filters, text, stickers, frames, and effects to customize your photo further. It is always a good idea to watermark your photos with your name so no one steals your work on the internet. I left this without one, but it is not the most thrilling photo of Beth, Candace and myself. Also Beth and Candace are customs so it is harder to steal photo's of custom dolls. 

Keep shooting photos and practicing your art, and I will be back soon with more lessons for you.


Monday, September 1, 2014

Get down on our level

The most important thing other that lighting the photo is the angle of the camera. If you stand up and we are standing on the ground it is not going to look good. You need to get low and level with us to make a good photo.


This is the worst photo we could find that we took. Mom learned her lesson early on. I look tiny and well like a doll.  The goal is lifelike not reminders that we are dolls. (Really we think we are short people here.)

So get on our level...

Rose looks actual size and the house in the background doesn't seem as big as it is in reality. It makes a difference. 


Sunday, August 31, 2014

Dolls for A Cause Pink for Pam Auction Event

This week I took a small break in my series of lighting dolls to be the model. I worked alongside my friend Candace. Her name is a link to her fashion blog.


Dolls for a cause has 50 items available to bid on on their Facebook page  and the proceeds go to help a friend of Confetti Doll Design's owner named Pam. Pam has breast cancer and they are trying to raise funds for her medical expenses. You can help by bidding and getting some awesome stuff in the process.

Saturday, August 30, 2014

Backgrounds, props, budgets oh my Or... get Crafty time.

If you are one of the lucky ones with a dollhouse for your dolls like me congrats. So many don't have space or the funds to have one. We lack both pretty much but we can fake it. Cardboard is your friend. Scrapbook paper is a better friend. You can make walls and floors easily with the two. I showed some in another post but if you really want cool doll props and are on a budget I am going to share my best secrets with you but let me mention one more friend,  Glue sticks. Trust me they don't wrinkle the paper like regular glue will.

My secrets:

YouTube is your friend. People show you how to do stuff and watching it is free assuming you have internet. Which if you are reading my tips I guess you are. There are a few youtubers that make great stuff for dolls. Chad Alan makes stuff for Monster High, Ever After High and Barbies and shows you how to make clothes... and some of his techniques will be able to be translated to larger dolls like me. Find him here.

My Froggy Stuff.  Started out with mostly Monster High and Barbie and now covers everything including American Girls... wooo. There is a blog and the have more than one You Tube. Find it here. Furniture , backgrounds, luggage, food oh my so many ideas.

Karen Mom of Three Blog... wow she has all boys but makes cool doll stuff. Wait so does my human mom. Well her actual kids are boys. That is awesome though. Keeping in touch with their inner child I guess... linky dinky do to find Karen's blog.

Google search: Yep Or Bing if you like that better or whichever search you use. I am a google person umm doll.. anyhow. Type in how to make a (insert item here) for an 18 inch doll. You might have to weed out things you were not looking for and it is best to ask a parent because when you google search anything can happen. We are als 1/3 scale or playscale.  (psst here you will thank me for this one) Print Mini,com is free and they have a Playscale page that fits us. woo! Accessorize time.

So make it and fake it for cool photo props on the cheap. Because we all love those little details.


Thinking outside the box

Another one of Saige's tips for better and more artistic doll photos.  Think outside the box a bit.


The box is a standard portrait. Pose us. Make us look like we are doing something. We look more life like that way. We look like we are fun little people.  Make us look like we are in scale to the things around us by holding the camera close to us. It puts the background out farther and makes it seem more in scale. On the beach you see beach umbrellas off in the distance but they don't look like they are actual size.  The skateboard is a mini one that came with a tshirt the human boys got. It is illegal to ride a skate board in the town we live in so the kids can't use them but I am a doll. I am above the law I will ride that skateboard if I want to. (Ok got a bit carried away but you get the point. I can stand on it and look like I am riding it. And,,, once again it was Beth not even me. Sigh. Hard being the newer doll you don't go out much.  Have to be kept pristine blah blah blah) So all these photos put us in action poses, we are not centered in the middle portrait style. No school photos in this group, Yearbook ones perhaps,but it adds life to us.


Next tip Parts of the whole.
 

No where is it written that you need the entire doll in the photo for a good photo. All of these are highlighting the accessories. I do love the headband shot. It is me. I love how my eyelashes look. You can see all the pretty details in the headband/ We have cute hands and feet and knees and elbows and well where aren't we cute, am I right/? So in thinking outside the box, think parts of the whole.  This can be achieved in the editing as well as the shooting, depending on the photo in question. These were pretty much focusing on the subject in the shot but sometimes you want to narrow it down. In editing you can crop to just part of the whole. The photographer was trying to highlight the design of the lace so there was a close shot of the whole dress but upon staring on it in the editing website the crop down to the just the lace made the difference. It is part of a collage of the outfit and it really a nice touch to show how pretty the brown designs are on the pink. I was so happy I got to model it. Candace is still not speaking to me. She will get over it eventually. The first photo is totally unedited so it is sideways. Sorry
 

So to recap this lesson Think Outside the Box, Not a school portrait but Action or Parts of the whole can really spice up your photo shoots.

Keep Practicing your art, both Photography and the kinds with paper and drawing and painting supplies.

Saige

Wednesday, August 20, 2014

More thoughts on lighting dolls

Well I actually came up with another tip on taking photos of dolls that was still on the subject of lighting. It is THE FLASH... no not the super hero the camera's flash.

Try to avoid it. No, really at all costs. Please... I beg of you. Flash photography when not using what a professional photographer is using never is as great as it could be. However when you are talking a point and shoot, a phone or even a digital SLR and a doll... we look dead. It takes all the contours that our faces have and makes them look flat, our coloring looks gone, the gentle blush of our cheeks isn't visible.

Wait for good natural light. It makes all the difference.
Example A: a Family portrait. Beth Andya nd Kendall were at our cousins and they all got together in a group photo. It was night time and this was taken with a flash and well they all look more like dolls on a couch than the people you know we are. 

 Example B: Beth in strong sunlight. Her eyes are so reflective. They look more lifelike and this isn't even an example of good natural lighting. This is still better than the photo above. Yes, Beth changes her hair often. Right now she is a red head and it is super curly. I think she likes to look closer to me. We look cute together now with our blue eyes and red hair.
Example C: Candace with a flash. So every now and then you forget to turn the flash off and this happens. Ugh. Well there is a reshoot of it. She is in same pose but we cropped it differently. 
Exampe D: Candace in same pose but natural light. I don't think it was the best day either but you can see her eyes look pretty not scary.  For brown eyed dolls the light is imperative,
Example E: Kendall and Andy at the beach... super cute pose but the problem with this photo is the angle the light is coming from. It doesn't light their faces. Their faces are in shadow. 
Example F: Kendall lying on the beach. Much better his face is lit nicely. I think he is a bit of a beach bum. I hope Beth doesn't get mad that I went into her photo archives and have been critiquing them. Ummm Kendall what up with the hair? Wow that is curly on the top. LOL It looks like he does when he first gets up. He is a goof. You have to live with him to understand. ( I know he is my brother but he is actually sort of cute, you know for a brother.)
Last one, is Example G: Rosemarie with her eyes looking exceptionally pretty. Glad she gave up on that lip gloss color since then. This is a really old photo of her. I do love her freckles though..

Well I hope this helps with your quest to better and more artistic photos of your dolls. Remember we like to look alive so give us a hand in our quest to look as human as possible. Now it is really late and since our humans are asleep we are going to play some cards, you know Toy Story was absolutely correct. In fact many toys were mad that the cover was blown. Anyhow UNO time with the doll siblings. 

Saige


Tuesday, August 19, 2014

Lights and thoughts before that

When we do photo shoots we have some walls we use that are actually cardboard trifold presentation boards. Some have been transformed into various rooms and others are plain solid colors. We have floors that are already created as well. This allows us to have a nice background for a photo. 


]

Our barn set, the floor is made from scrapbook paper that looks like hay and we got scrapbook paper that was a wood floor cut it into boards and glued it all in, made fake windows by printing them out. 
It looks like I am in the an actual barn. 


These are not lit the best as it was raining that day. BOO but it allows you to get the scaled background idea. 

Other scale backgrounds we made for play and photography are a vet office...


School...


Wall with a mirror...
  And the new Confetti wall for mom's new shop Confetti Doll Designs.  All that confetti is glued individually on foam core. it fits inside the normal plain white tri fold.


You can find some great outside places that look scale for people as short as me as well... two of our favorite photos of me in real world are...
Old Train station, brick wall and sidewalk and 
 Walking the dogs with a creative focus. Because I am close and the buildings are so far away in the photo background it tricks your eye into thinking we are in scale. I am actually 1/3 scale. LOL


Now once you find a good background, you need to think about where the light is coming from when you shoot the photo. For example this is full sun in my face with the dogs. It can lead to harsh shadows so you have to be careful you are not in shadow in your photograph or it is something you can fully crop out later.  The sun is behind photographer.

Where I am against the brick wall that day was overcast. I had plenty of bright light but with a nice cloud cover to diffuse it so it eliminated the shadows.  That is the best light. I makes my eyes look bright and alive but no weird shadows on my face. The sun is behind the photographer and it was a different day and time. 

The two in the grey dress were shot inside the house and the light was coming from behind the photographer on her right. She is as far to the left as her body can be to not block her light source. 

The camera is held as level to me as possible, if at a slightly upward angle our eyes can look a bit odd so just slightly higher angle is best to make us look the most lifelike. 

So rules for a lifelike doll photo a recap:
1. Background scale 
2. Good light, Bright but not too harsh from behind photographer.
3. Angle of your photographer the sun and the camera.

Let me know if you would like in depth tutorials on background making. 

Saige